Business Mail allows you to configure your Business Mail account on the native Apple Mail application on your iOS device
First you will need to enable your Business Mail on other apps
- Log into Business Mail
-
Click on Settings (
icon) > Enable Titan on other apps.
- After completing our feature tour, simply click Enable Titan on other apps to grant permission for third-party email clients to access your emails.
Once this is completed you will be redirected to a support page where you can follow the steps to configure your iPhone or iPad for your emails or use the below instructions to configure your client.
Go to Settings > Accounts & Passwords:
- Open Settings on your iPhone and tap Mail.
-
Tap Accounts.
- Tap on Add Account.
- Tap on Other.
For this process, you are required to know the email settings for your account. If you don’t know them, you can contact us at support@onlydomains.com
- Tap Add Mail Account.
Enter your account details:
- Name: This will be visible as the sender.
- Email: The address you want to add.
- Password: You use it to log in to Webmail.
- Description: A name for the account on your device.
- Tap Next to continue.
Select IMAP:
- Tap IMAP as the account type.
You can find the POP and IMAP configuration of Business Mail here
Tap Next to continue.
Enter your server settings:
Incoming server:
- Hostname: imap.titan.email
- User name: Same as Email Address.
- Password: The one you use for webmail login.
Outgoing server:
- Hostname: smtp.titan.email
- User name: Same as Email Address.
- Password: The one you use for webmail login.
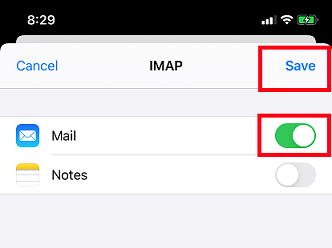
Save the account:
- Disable syncing of Notes, if this is enabled. Tap Save.