Business Mail service makes it possible to set up calendar synchronizations separately on devices that support CalDAV configuration.
Before setting up this calendar, make sure you already have the required DNS records and mailbox created.
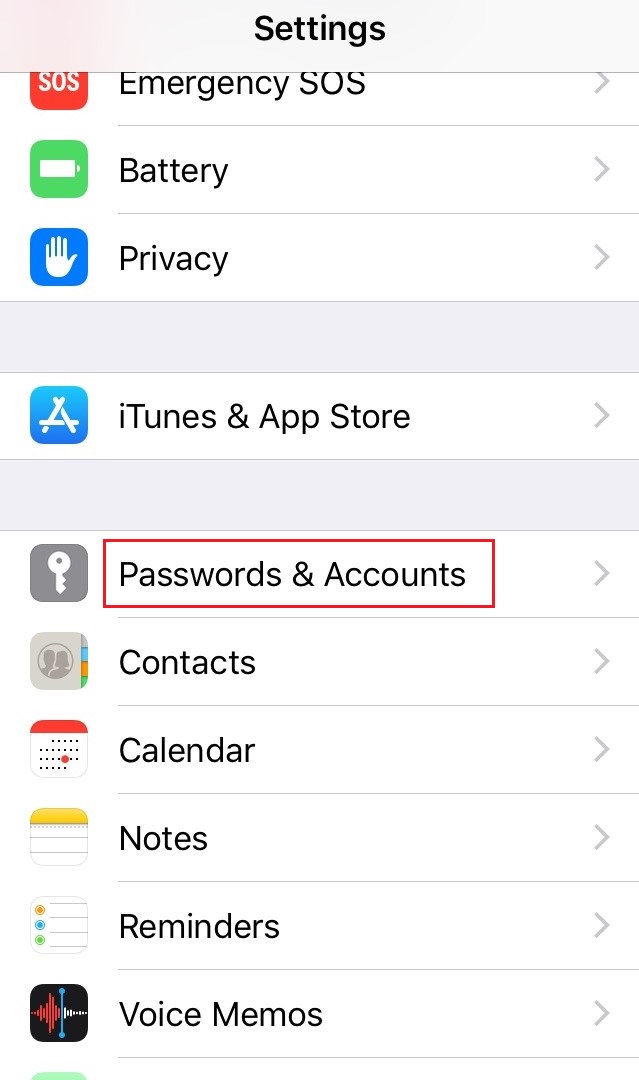
1) Open up Settings on your iPhone
2) Navigate to Passwords and Accounts
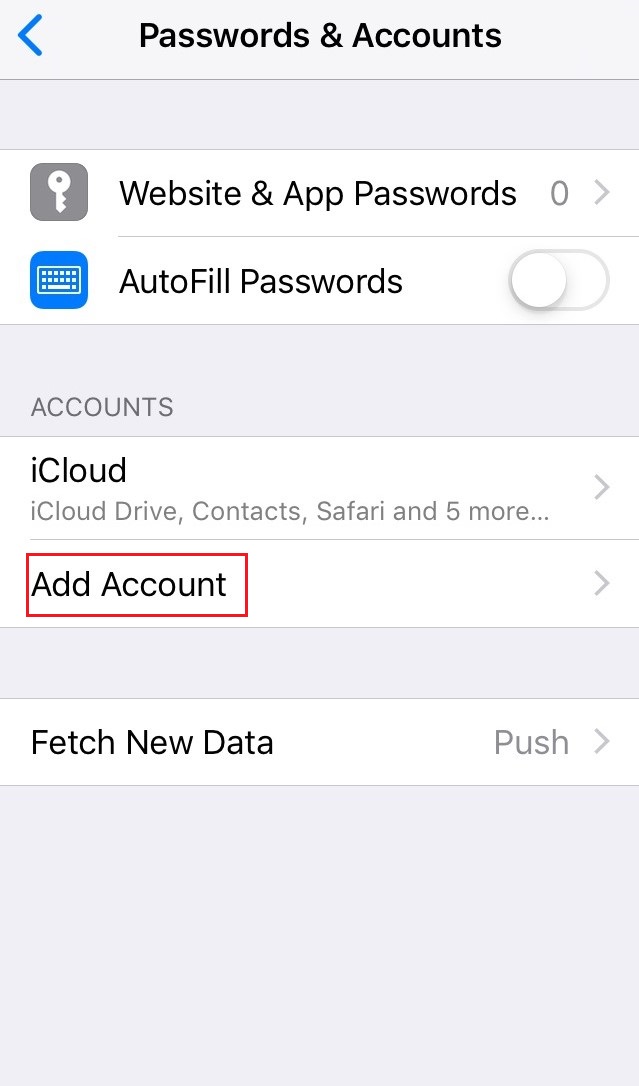
3) Tap on Add Account
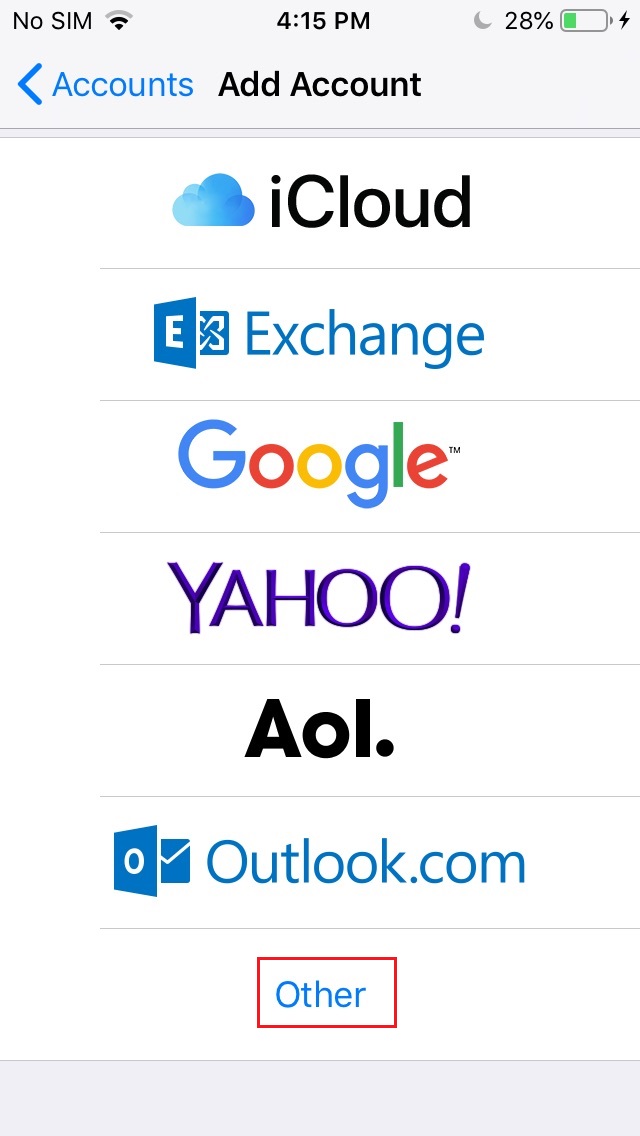
4) Tap on Other
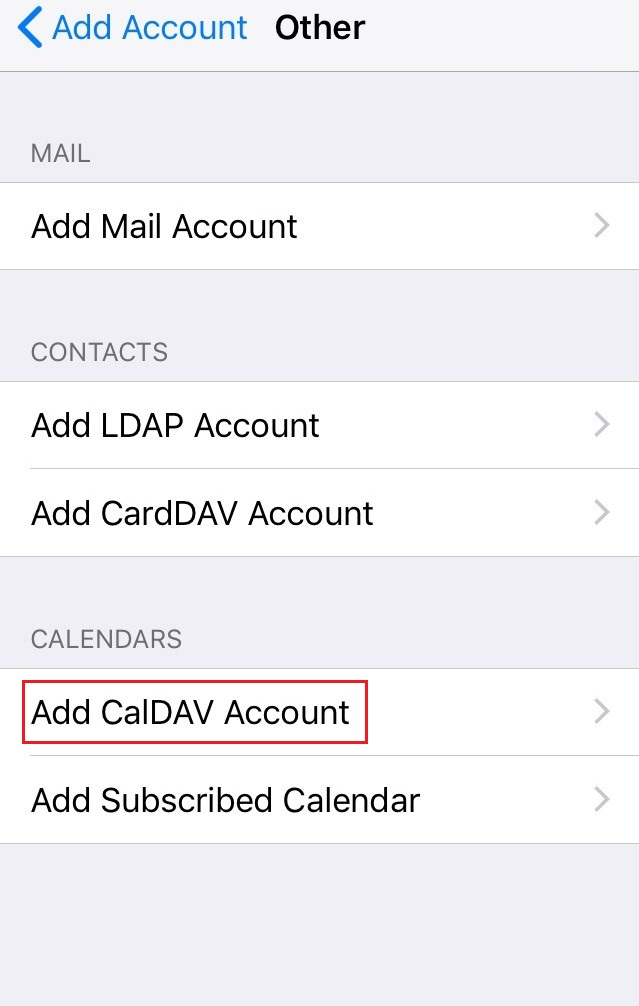
5) Select Add CalDAV account
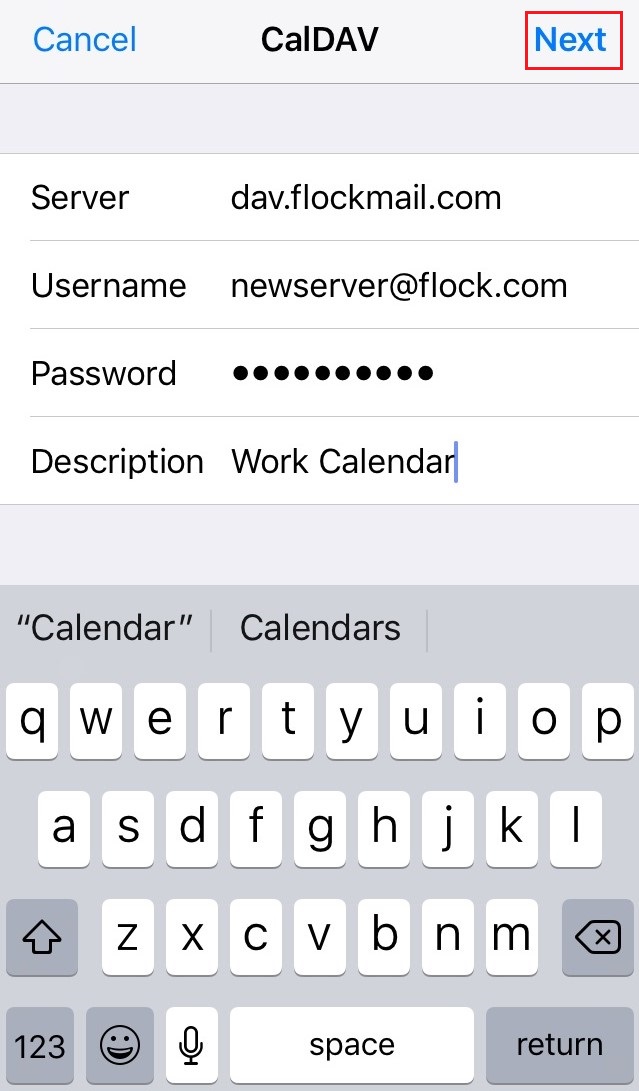
6) Enter the configurations as mentioned below:
If you are based out of the European Union region then please use dav-eu.titan.email as the Calendar server address.
a) Server : dav.flockmail.com
b) Username : Your email address
c) Password : Your mailbox's password
d) Description : Set as you wish
7) Make sure that Calendars is turned on and tap on Save
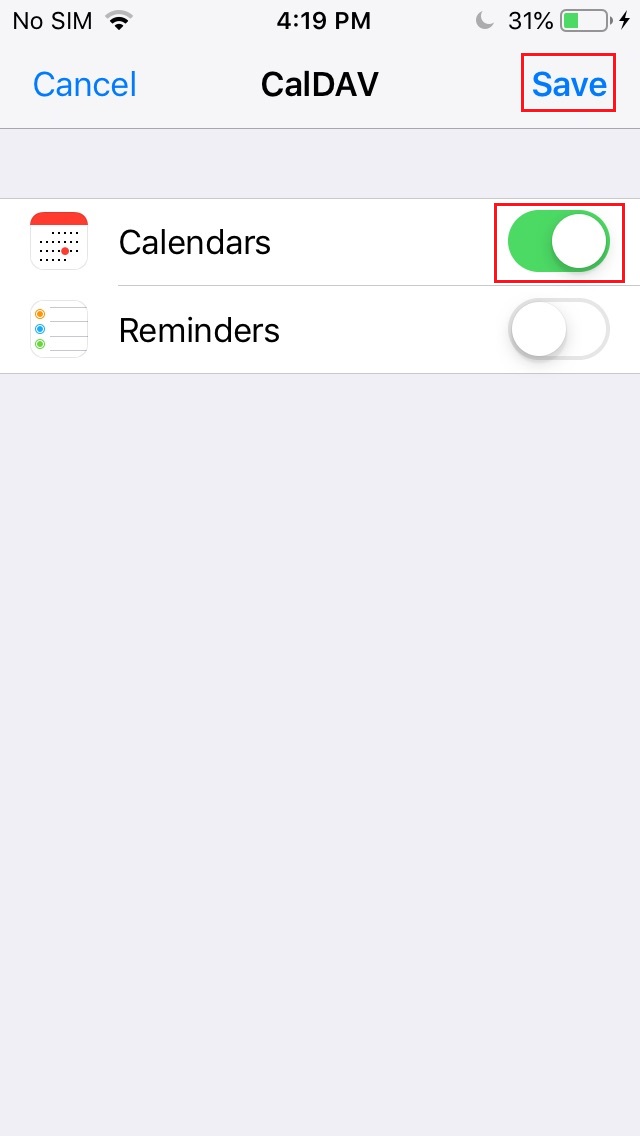
Done!
You will now have successfully set up your Business calendar via CalDAV on your iPhone.